Key Takeaways:
-
Choose the Growth Habit That Fits Your Space: Match your garden layout and preservation goals to the right plant type, selecting bushy determinate varieties for small spaces and concentrated harvests, or vining indeterminate types for continuous summer production.
-
Prioritize Strong Indoor Lighting: Avoid weak, leggy seedlings by placing young plants directly under dedicated artificial grow lights kept just a few inches above the foliage, rather than relying solely on windowsills.
-
Bury Stems Deeply When Moving Plants: Take advantage of the plant’s biology by stripping lower leaves and burying a large portion of the stem during transplanting, which triggers massive, robust root systems.
-
Water Broadly and Consistently: Prevent common physiological issues like cracking and blossom end rot by maintaining uniform soil moisture through deep, ground-level watering and a thick layer of organic mulch.
-
Manage Growth with Smart Pruning and Supports: Prevent tangled, disease-prone foliage by installing heavy-duty support structures and regularly pinching out interior suckers to channel the plant’s energy into larger fruit.
-
Harvest Early to Protect Your Yield: Pick your tomatoes at the breaker stage when they first begin to show color; they will ripen flawlessly on your kitchen counter safe from pests without losing any homegrown flavor.
There is nothing quite like the taste of a homegrown tomato. Sun-warmed, juicy, and bursting with flavor, a backyard tomato makes grocery store varieties taste like cardboard. While buying starter plants from a local nursery is convenient, growing tomatoes from seeds opens up a whole new world of possibilities. You get access to thousands of unique heirloom and hybrid varieties that you will never find on a garden center shelf.
Starting from seed also gives you complete control over the plant’s health from day one, laying the foundation for massive, robust plants and an overwhelming harvest. If you want to maximize your yield and grow the biggest, healthiest tomato plants possible, this comprehensive guide will take you through every single step of the process.
Choosing the Right Tomato Varieties for Your Garden
Before you drop a single seed into the soil, you need to decide what kind of tomatoes you want to grow. Tomatoes are generally grouped into two main categories based on their growth habits: determinate and indeterminate. Understanding the difference is crucial for planning your garden space and support systems.
Determinate vs. Indeterminate Varieties
-
Determinate Tomatoes: These are bush-style plants that grow to a certain size (usually 3 to 4 feet tall), set their fruit all at once, and then finish production. They are ideal for small spaces, containers, and gardeners who want to harvest a large volume of tomatoes simultaneously for canning or making sauce. Popular varieties include Roma, Celebrity, and San Marzano.
-
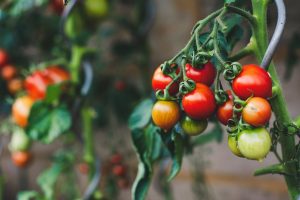
Indeterminate Tomatoes: These plants keep growing, vining, and producing fruit until they are killed by frost. They can easily reach 6 to 10 feet tall and require sturdy trellising. Indeterminate varieties provide a steady, continuous harvest throughout the summer. Most heirloom varieties, like Brandywine, Cherokee Purple, and almost all cherry tomatoes, fall into this category.
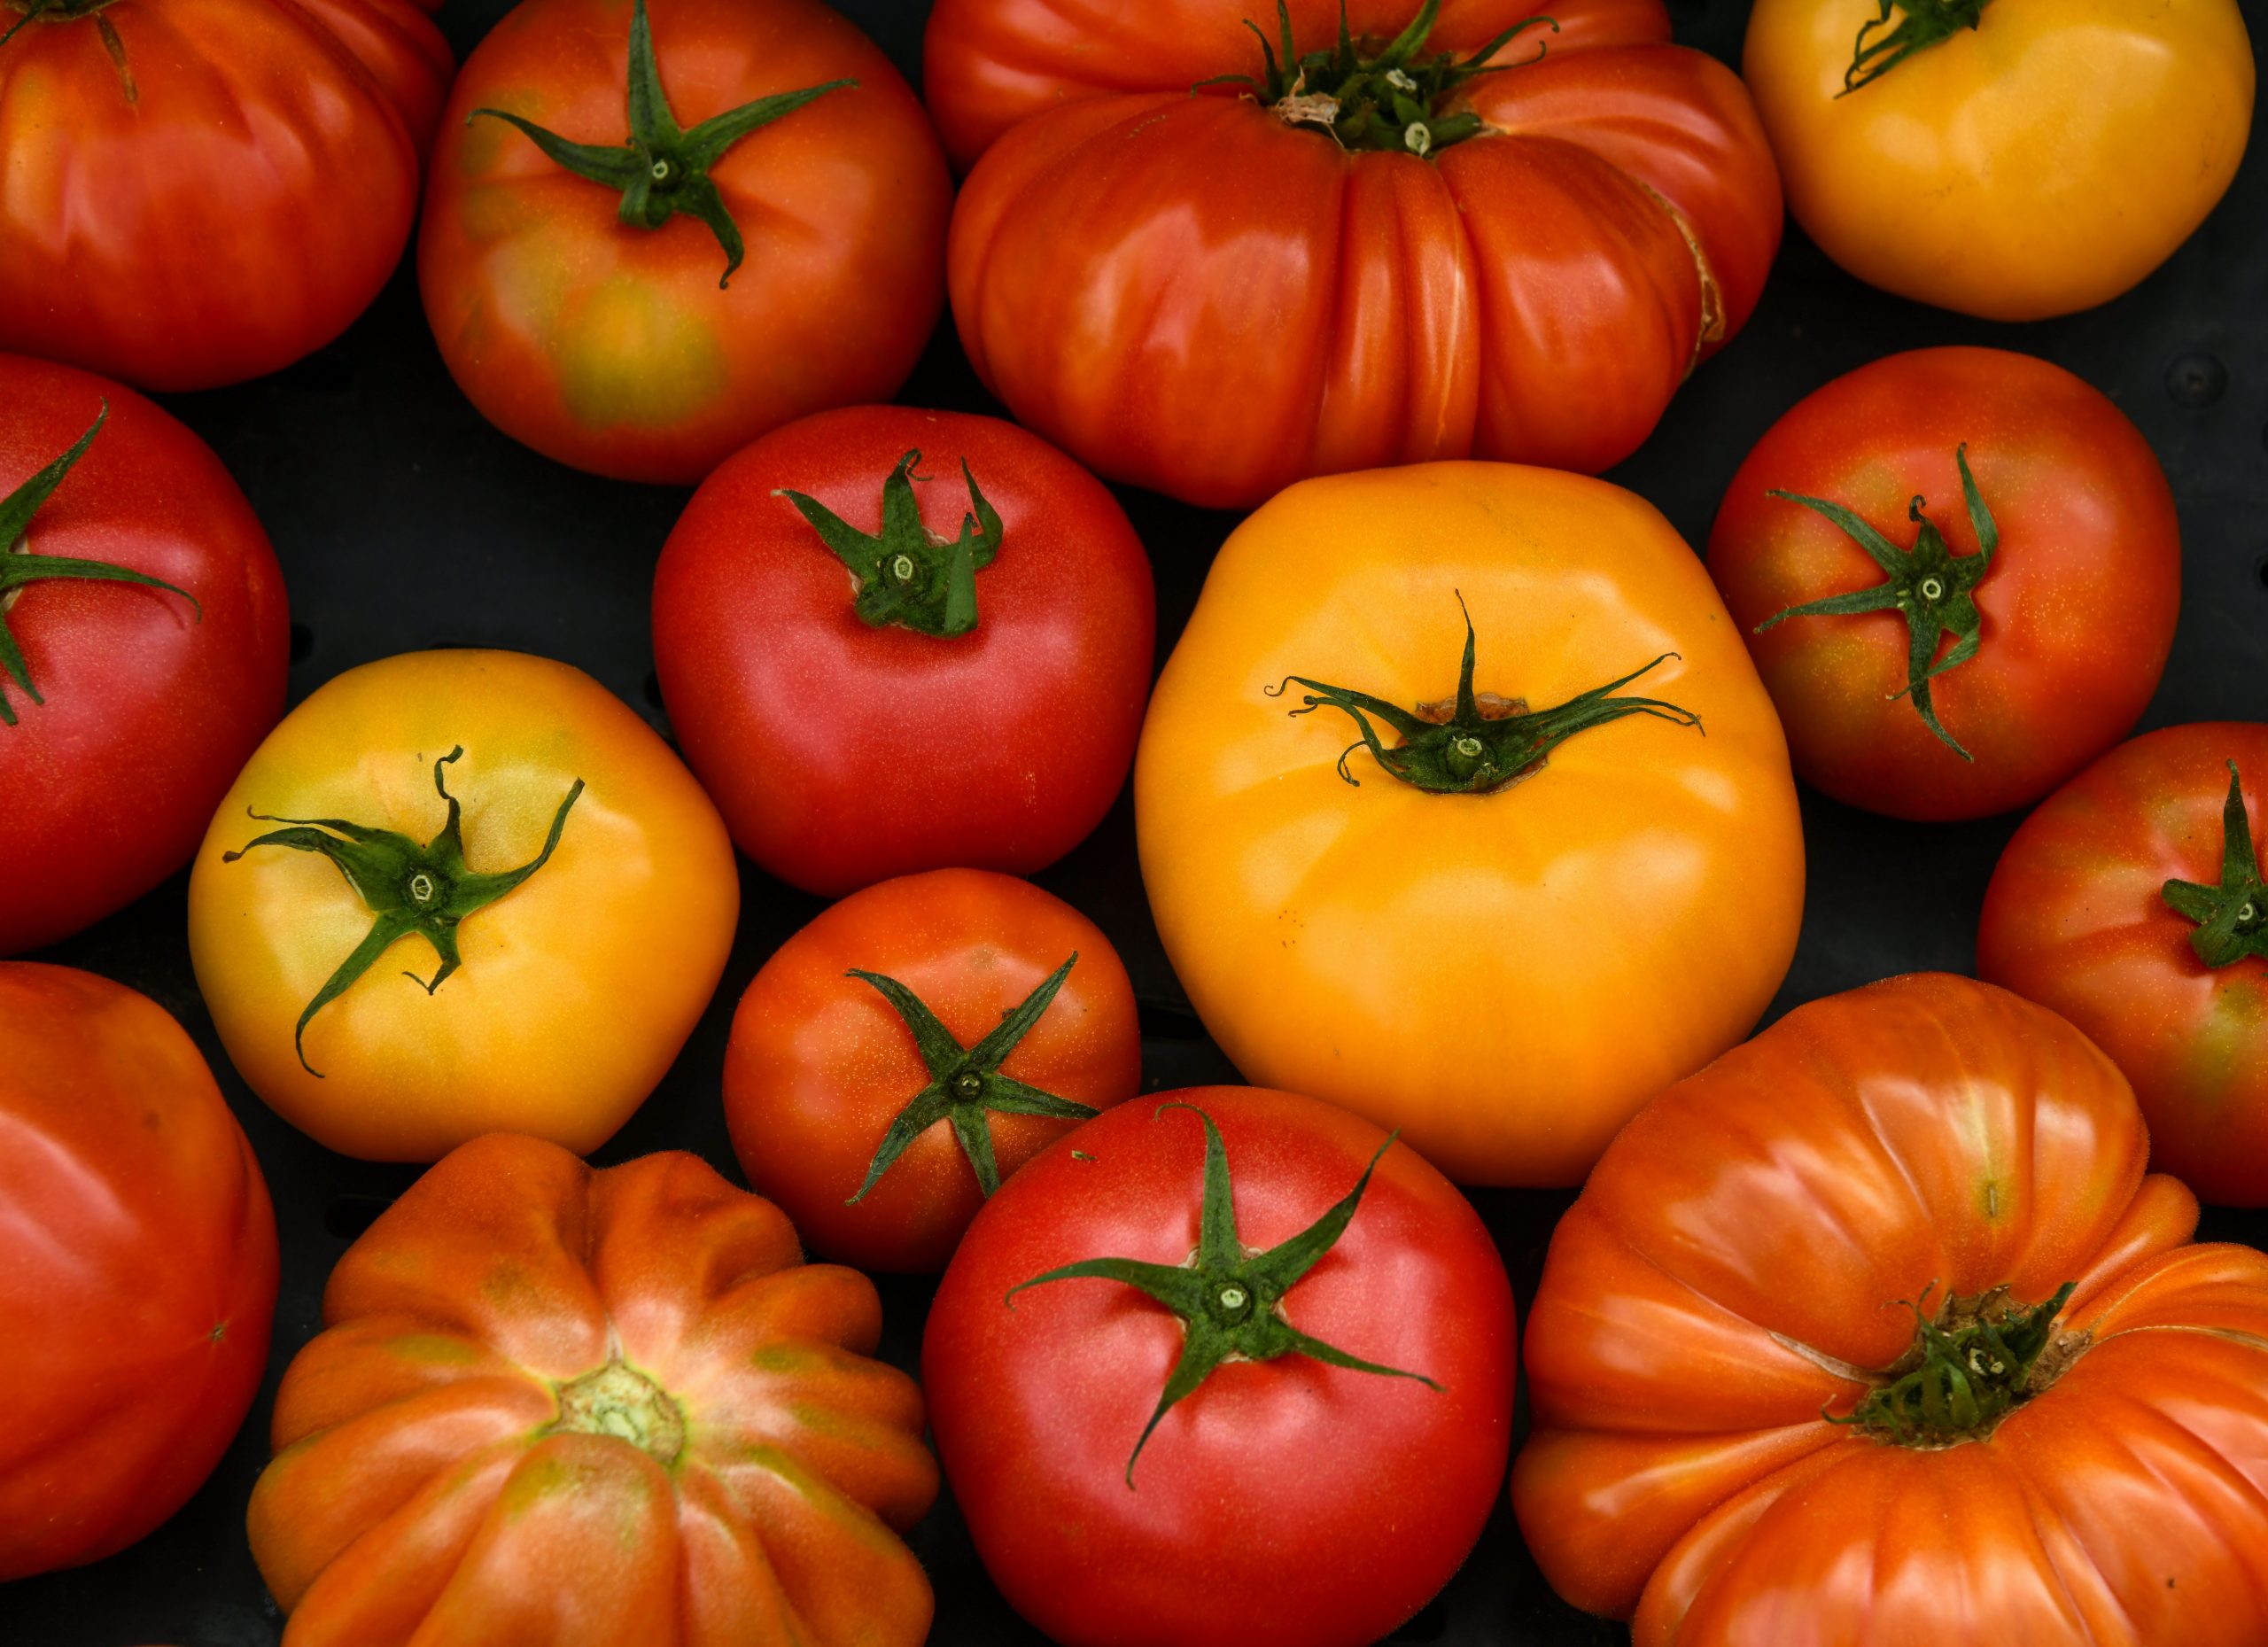
Selecting for Flavor and Disease Resistance
If you want a massive yield, look for varieties labeled with letters like V, F, N, or T. These indicate resistance to common tomato ailments like Verticillium wilt, Fusarium wilt, Nematodes, and Tobacco Mosaic Virus. Hybrid varieties are often bred specifically for heavy production and disease resistance, while heirloom varieties are prized for their exceptional, complex flavors. A great strategy is to plant a mix of both to get the best of both worlds.
Essential Supplies for Starting Seeds Indoors
Tomatoes are warm-weather crops with a relatively long growing season. To get a head start, you need to sow your seeds indoors about six to eight weeks before your region’s average last spring frost date. To do this successfully, you will need a few basic supplies.
High-Quality Seed Starting Mix
Never use standard garden soil or even regular potting soil to start seeds. Garden soil is too heavy, doesn’t drain well enough, and can harbor pests and diseases. Potting soil often contains fertilizers that can burn tender young roots. Instead, choose a sterile, soil-less seed starting mix made from peat moss, coco coir, and perlite. This lightweight blend retains just the right amount of moisture while allowing delicate roots to breathe and expand easily.
Trays, Pots, and Containers
You can start seeds in dedicated plastic seed trays, plug inserts, or small 3-inch peat pots. If you prefer a budget-friendly DIY approach, recycled egg cartons, yogurt cups, or paper cups work beautifully. Just ensure you poke adequate drainage holes in the bottom of any makeshift container. Tomatoes absolutely hate sitting in waterlogged soil.
Artificial Lighting and Heat Mats
While a sunny, south-facing window seems like the natural choice, it rarely provides enough intense light for young seedlings in the late winter or early spring. Windowsill seedlings often become leggy, tall, and weak as they stretch toward the light.
To grow thick, sturdy stems, invest in a simple LED or fluorescent shop light positioned just a few inches above the plants. Additionally, tomato seeds germinate best when the soil temperature is between 70°F and 80°F. A waterproof seedling heat mat placed under your trays will drastically speed up germination rates.
Step by Step Guide to Sowing Tomato Seeds
Once you have gathered your supplies, it is time to get your hands dirty. Sowing tomato seeds is a straightforward process, but paying attention to the details here will ensure a high germination rate.
Preparing the Soil Mix
Start by dumping your seed starting mix into a large bucket and adding warm water. Mix it thoroughly with your hands until the soil is damp but not soggy. If you squeeze a handful of the mix, it should feel like a wrung-out sponge, releasing only a drop or two of water. Filling your trays with pre-moistened soil prevents dry pockets from forming and ensures the seeds get immediate access to moisture.
Planting the Seeds
Fill your containers with the damp soil mix, tapping them gently against the table to settle the soil, but do not pack it down tightly. Create a small indentation about a quarter-inch deep in the center of each cell. Drop two seeds into each hole. Planting two seeds acts as an insurance policy just in case one fails to germinate. Cover the seeds lightly with soil or a dusting of vermiculite, and gently press down to ensure good seed-to-soil contact.
Creating the Greenhouse Effect
Mist the top of the soil with a spray bottle to settle everything. Cover your trays with a clear plastic humidity dome or a sheet of plastic wrap. This traps moisture and heat, creating a mini greenhouse environment. Place the tray on your heat mat. At this stage, light is not necessary for germination, but you must check the soil daily to ensure it remains moist.
Caring for Seedlings Post Germination
Under ideal conditions, tomato seeds will sprout within 5 to 10 days. The moment you see the first green loops emerging from the soil, your care routine must change instantly to keep those new plants thriving.
Let There Be Light
Remove the plastic humidity dome immediately once the seeds sprout, and turn off the heat mat if your room temperature is around 60°F to 70°F. Move the seedlings directly under your artificial grow lights. Keep the lights positioned just 2 to 3 inches above the tops of the plants. If the lights are too far away, the seedlings will grow tall, thin, and fragile. Keep your grow lights on for 14 to 16 hours a day, giving them a period of darkness at night to rest.
Thinning and Watering Wisely
As your seedlings grow, they will develop their first set of leaves, which are smooth and oval. These are called cotyledons, or seed leaves. The next set of leaves that emerge will have the characteristic jagged shape of true tomato leaves. Once your plants have a couple of sets of true leaves, it is time to thin them out.
Look at each cell and identify the weaker or smaller of the two seedlings. Use a pair of small scissors to snip the weaker seedling off at the soil line. Do not pull it out, as this can disturb the root system of the surviving plant.
When it comes to watering, the golden rule is to water from the bottom. Place your seedling pots into a solid tray filled with an inch of water and let them soak up moisture through the drainage holes for about 10 to 15 minutes. Once the top of the soil feels damp, pour off any excess water. This keeps the foliage dry, preventing fungal diseases, and encourages the roots to grow downward in search of moisture.
Potting Up for Stronger Root Systems
When your tomato seedlings are about 3 to 4 inches tall and have multiple sets of true leaves, they will begin to outgrow their initial small starter cells. To prevent them from becoming root-bound and stunted, you need to transition them into larger containers, a process known as potting up.
The Magic of Deep Planting
Tomatoes possess a fascinating biological trait: they can grow roots all along their stems. When you move your seedlings into larger 4-inch or 6-inch pots, snip off the lowest set of leaves. Place the seedling into the new pot and fill it with potting soil all the way up to the remaining top leaves, burying a significant portion of the stem.
The buried stem will quickly sprout a massive, dense network of adventitious roots. A larger, more robust root system allows the plant to take up more water and nutrients later in life, directly resulting in a much bigger plant and a heavier yield of fruit.
Initial Fertilization
Seed starting mixes generally do not contain nutrients, and the seed itself only holds enough energy to get the plant started. Once your seedlings are growing in their larger pots and have true leaves, they need external food. Apply a organic, water-soluble fertilizer diluted to half or quarter strength once a week. Look for a balanced fertilizer or one slightly higher in nitrogen to support lush, green leafy growth during this early vegetative phase.
Moving Tomatoes to the Outdoor Garden
You cannot take seedlings directly from the warm, protected environment of your house and plant them straight into the garden. The sudden exposure to direct sunlight, wind, and fluctuating temperatures will shock and likely kill them. They must undergo a transitional process called hardening off.
The Hardening Off Process
About 7 to 10 days before you plan to transplant your tomatoes into their final home, begin moving them outdoors into a sheltered, shady spot for just an hour or two on the first day. Gradually increase their time outside each day, slowly exposing them to more direct sunlight and wind. If a cold night or a severe storm is forecasted, bring them back indoors. By the end of the week, your plants should be able to spend a full 24 hours outside without issue.
Preparing the Perfect Garden Bed
Tomatoes require full sun, meaning at least 6 to 8 hours of direct sunlight daily. They also prefer loose, well-draining soil rich in organic matter with a slightly acidic to neutral pH between 6.0 and 6.8. Many urban gardeners maximize limited space by creating a home micro-farm, focusing on intensive planting methods to generate high yields from small footprints.
Before planting, work a generous 2-to-3-inch layer of aged compost or well-rotted manure into your soil to provide a slow-release buffet of nutrients for your plants.
Transplanting Into the Ground
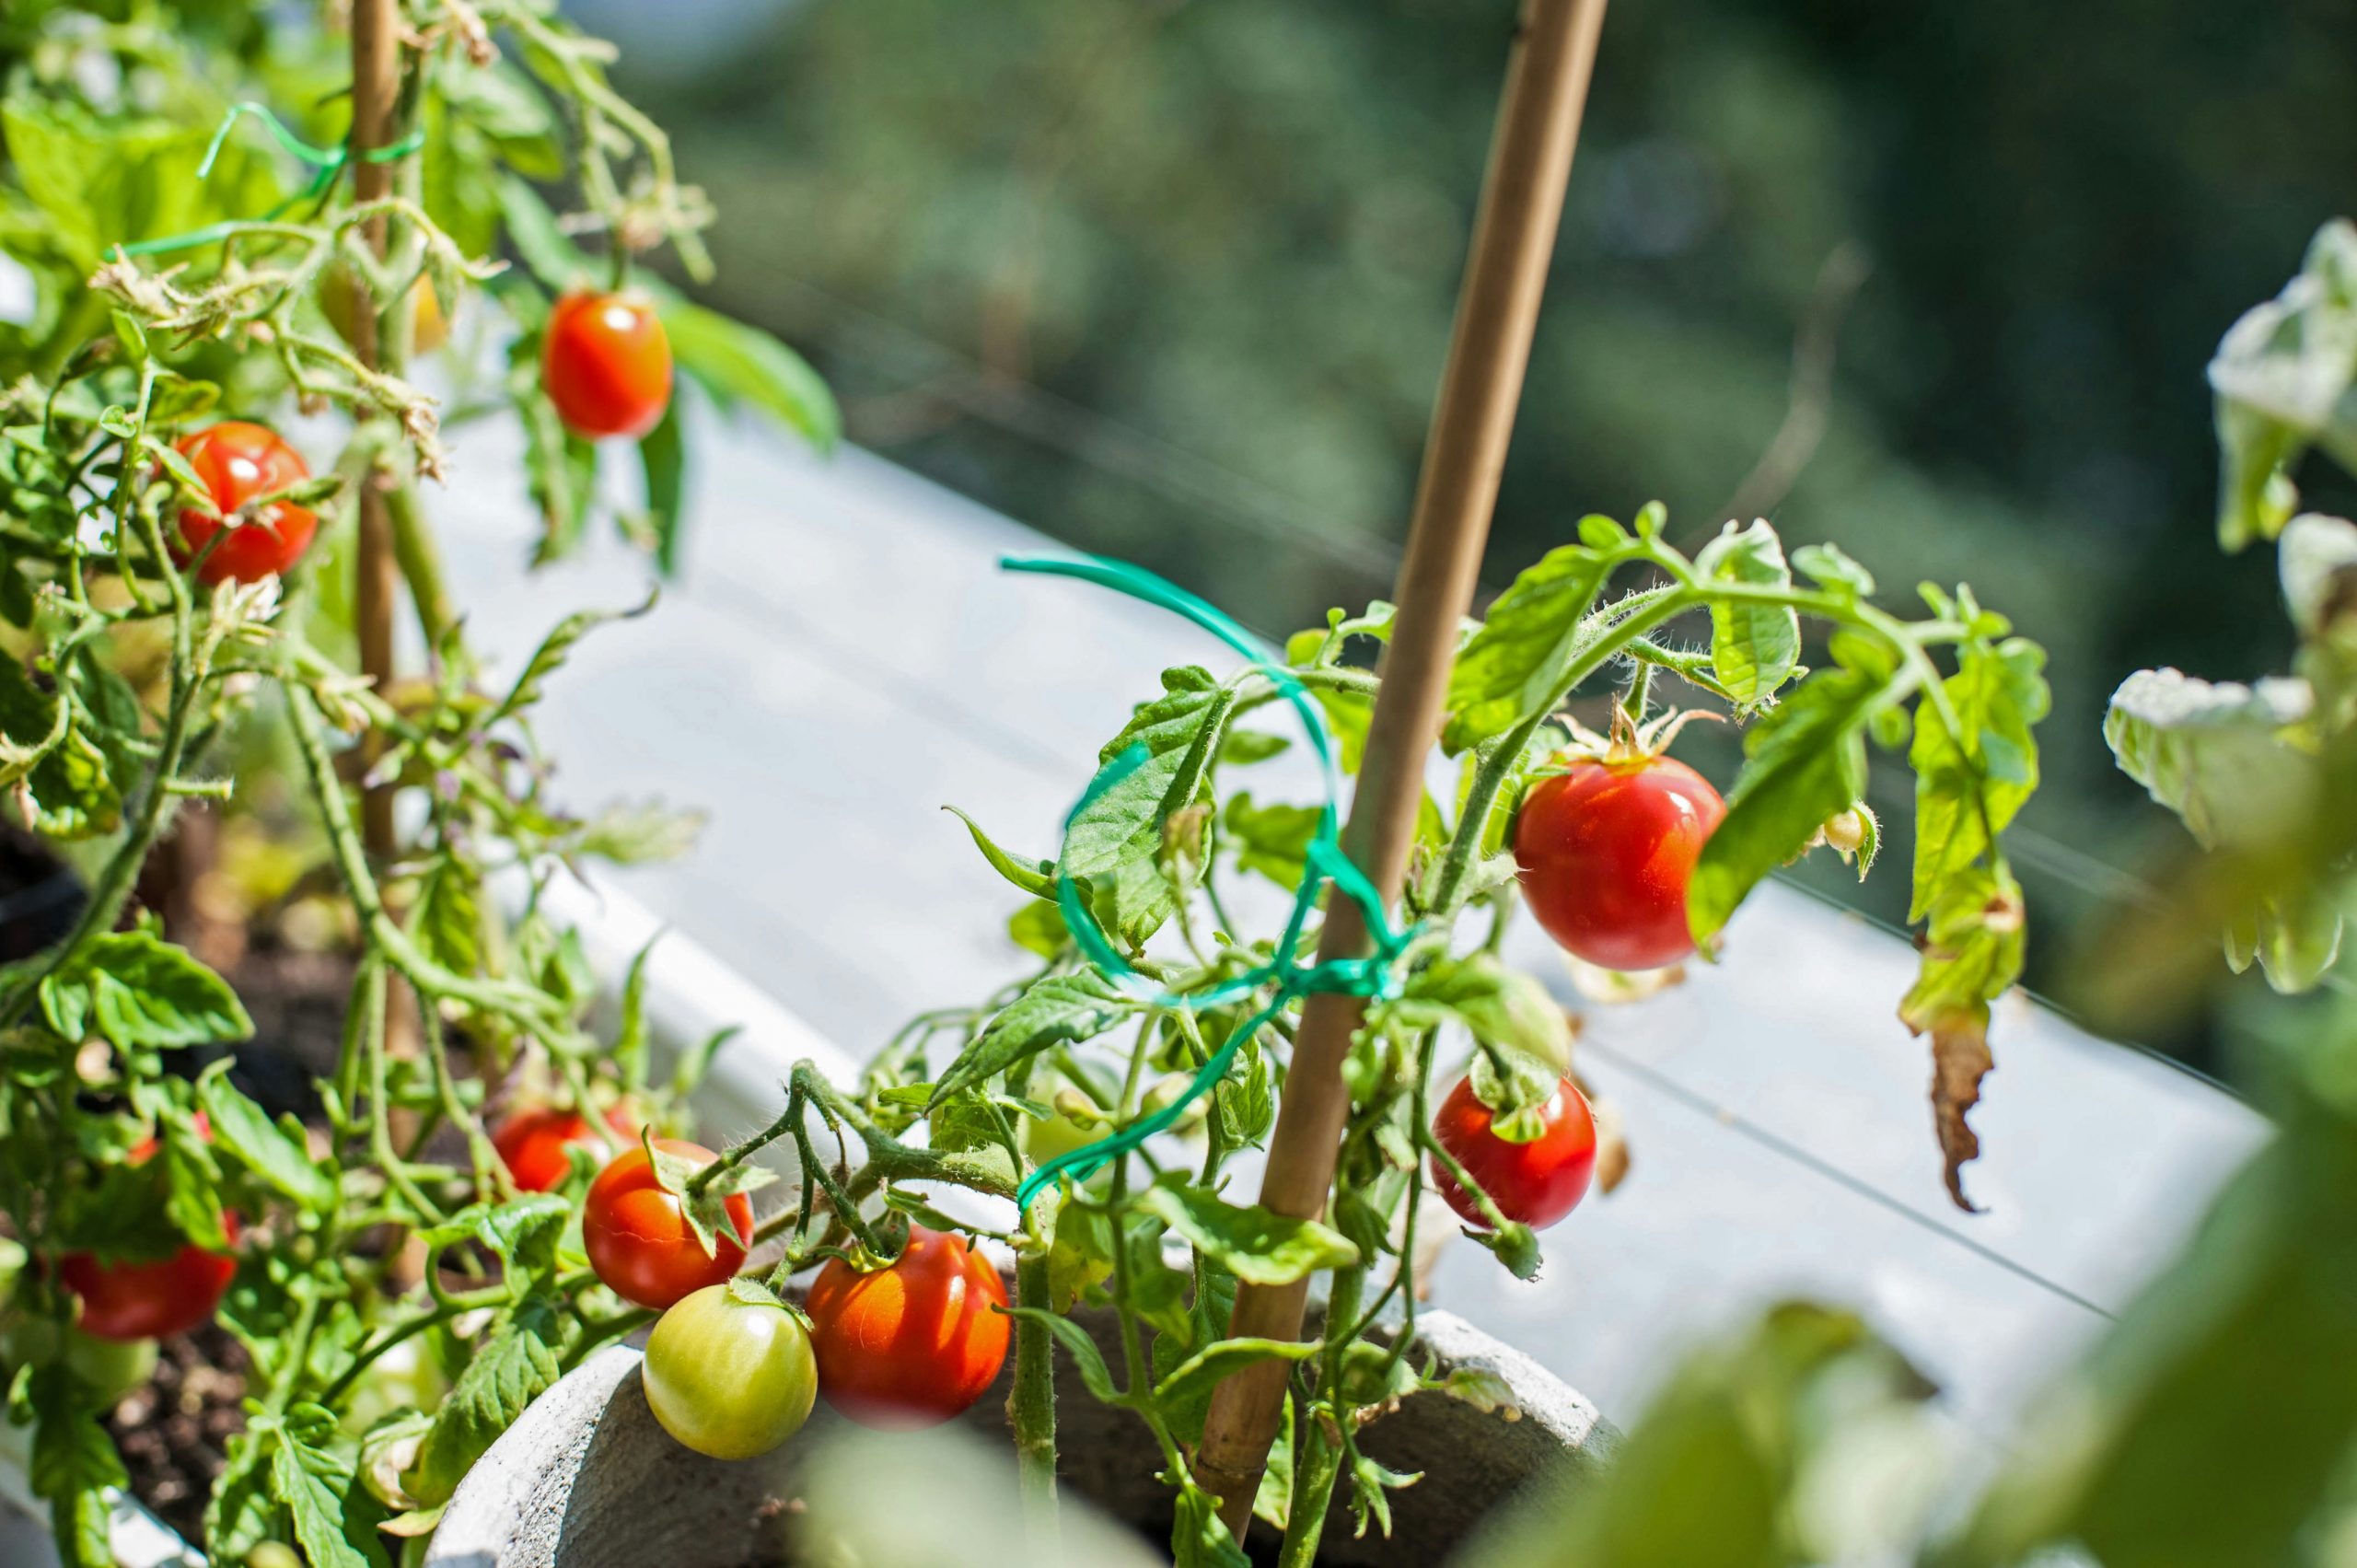
Wait until all danger of frost has passed and your nighttime soil temperatures consistently stay above 50°F. Just like you did when potting up, dig a deep hole for each tomato plant. Cut off the lower branches and bury the plant deep, leaving only the top few clusters of leaves above the ground. If your soil is heavy clay and digging deep is difficult, you can lay the plant sideways in a shallow trench, bending the top gently upward; the buried horizontal stem will grow roots just as effectively.
Space your plants at least 24 to 36 inches apart. It can be tempting to crowd them when they are small, but mature indeterminate tomato plants need plenty of space for air circulation, which is your best defense against fungal diseases like blight.
Advanced Care Strategies for Maximum Yields
Now that your tomatoes are established in the ground, your day-to-day management will determine the ultimate size of your plants and the abundance of your harvest. Consistent care prevents common physiological problems like blossom end rot and split fruit.
Watering Consistency is Key
Tomatoes need about 1 to 1.5 inches of water per week, depending on the weather. The most critical factor is consistency. Irregular watering—letting the soil dry out completely and then soaking it—causes rapid moisture fluctuations inside the developing fruit, leading to cracking or blossom end rot (a calcium deficiency caused by uneven water uptake).
Water deeply at the base of the plant two to three times a week rather than giving them a shallow daily sprinkle. Apply a thick 2-to-3-inch layer of organic mulch, such as straw, shredded leaves, or clean grass clippings, around the base of your plants. Mulch keeps the soil evenly moist, regulates soil temperature, and stops soil-borne fungal spores from splashing up onto the lower leaves during rainstorms.
The Ultimate Tomato Feeding Regimen
Tomatoes are heavy feeders. While nitrogen is vital for early leaf growth, adding too much nitrogen later in the season will give you massive, jungle-like green bushes with absolutely no flowers or fruit.
| Plant Growth Stage | Best Fertilizer Type | Primary Benefit |
| Early Veg Phase | High Nitrogen (e.g., Fish Emulsion) | Builds strong stems and abundant green foliage. |
| Flowering & Fruiting | High Phosphorus & Potassium (e.g., Bone Meal, Kelp) | Stimulates heavy blooming, root strength, and fruit development. |
| Mid-Season Boost | Balanced Organic Compost Tea / Side-Dressing | Sustains continuous growth and energy for late harvests. |
Supporting and Pruning for Plant Health
If left to their own devices, indeterminate tomato plants will turn into a chaotic, tangled mess sprawling across the ground. This invites pests, ruins fruit quality, and makes harvesting a nightmare. Proper physical support and strategic pruning are non-negotiable for high-yield gardening.
Choosing the Right Support Structures
Standard, conical wire tomato cages sold at most home improvement centers are far too small for indeterminate varieties. Within a couple of months, a vigorous plant will easily top and collapse them. Instead, opt for heavy-duty DIY options:
-
Cattle Panel Trellises: Exceptionally sturdy wire panels arched or set upright between metal T-posts that can support massive weight.
-
The Stake and String Method (Florida Weave): Ideal for rows of plants, utilizing sturdy wooden or metal stakes driven between plants with twine woven horizontally to sandwich the stems.
-
Heavy-Duty Wooden Cages: Custom square cages constructed from sturdy lumber that provide structural longevity for years.
Mastering the Art of Pruning Suckers
Suckers are the small shoots that emerge in the “V” crook space between the main vertical stem and a horizontal leaf branch. If left unpruned, every single sucker will grow into a whole new main stem with its own branches, flowers, and fruit. While this sounds like a good thing, a plant with too many stems cannot direct enough energy to ripening its fruit efficiently, resulting in smaller, lower-quality tomatoes and a dense canopy that restricts airflow.
For indeterminate varieties, it is best to prune the plant to one or two main stems. Check your plants weekly and pinch out the small suckers with your fingers when they are less than 3 inches long. Additionally, prune away any leaves touching the ground to eliminate a direct pathway for soil pathogens to climb up into your plant.
Harvesting for the Best Flavor and Performance
After months of careful attention, your green globes will finally begin to change color. Knowing exactly when and how to harvest is the final step in ensuring your seed-starting journey ends in culinary success.
The Breaker Stage Trick
Many gardeners wait until a tomato is completely uniform in color and soft before picking it. However, leaving fruit to fully ripen on the vine increases the risk of birds pecking at it, insects attacking it, or heavy rains causing the skin to split overnight.
Instead, you can safely harvest your tomatoes at the “breaker stage”—the point when the tomato is about half green and half pink or showing its first blush of true color. At this stage, a physical layer forms on the stem, sealing the tomato off from receiving any more nutrients from the parent plant.
Harvesting at the breaker stage will not sacrifice flavor or sweetness. Bring the tomatoes indoors and let them sit on your kitchen counter out of direct sunlight. They will finish ripening perfectly to their full, rich flavor within a few days, completely safe from backyard pests.
Keeping the Plant Productive
Pick your tomatoes frequently. The more often you harvest ripe or ripening fruit, the more the plant is stimulated to continue blooming and setting new fruit. At the very end of the summer season, about four weeks before your expected first fall frost, you can perform a technique called “topping.”
Snip off the main growing tips of your indeterminate plants. This stops the plant from producing new leaves or flowers that would never have time to mature anyway, forcing it to redirect all its remaining energy into rapidly ripening the existing green tomatoes left on the vine before winter arrives.
By selecting the right seeds, giving your indoor sprouts sufficient light, maximizing root development through deep planting, and providing consistent nutrition and water out in the garden, you can successfully grow massive tomato plants that yield baskets of delicious fruit all summer long.
Wrapping It Up
Growing exceptional tomatoes starts long before the plants ever touch outdoor soil. By taking control of the process right from the seed stage, you set the stage for unparalleled plant health, structural strength, and productivity. While it requires patience, attentiveness, and a bit of strategy to transition a tiny seed into a towering, fruit-bearing giant, the reward of a bountiful, flavor-packed harvest makes every ounce of effort worthwhile. With the right techniques in place, your backyard will easily transform into a high-yielding haven of delicious homegrown produce.